DIY crochet bob: my summer activity!
This publication is also available in: ![]() Français
Français ![]() Deutsch
Deutsch ![]() Italiano
Italiano ![]() Español
Español ![]() English (US)
English (US)
The long summer vacation is a perfect time to unleash our creativity. That’s how I set myself a challenge in July: to create a DIY crochet bucket hat! This accessory, which has become essential for the summer season, seemed perfect to make, especially with the clear waters of the Mediterranean as my backdrop (how could I not be inspired?). Today, I’m sharing the result with you, as well as my thoughts on this big first!
How to make a DIY crochet bucket hat for beginners?
I’ve had the idea in my head for a few summers now: to make a handmade crochet bucket hat.
Although I am familiar with knitting, which I learned as a child, I had never tried crochet, which was increasingly calling to me. And after seeing pictures on Instagram of people making their bucket hats under the golden sun of the Majorcan coves, there was no doubt—this activity was going to be my summer project. Disconnect and crochet: that was my plan for July.
Is the bucket hat a good idea to start crocheting?
The bucket hat, especially when made of granny squares, can seem terrifying at first glance. So many colors, patterns, and different stitches—it can quickly become dizzying. However, with my penchant for a challenge, I dove into this cotton adventure for two reasons:
- I wanted to find a crochet bucket hat in this style, so making one myself is even more fun to wear!
- Since I was on vacation for three weeks, my motivation to make it and wear it under the sun of Mallorca was high.
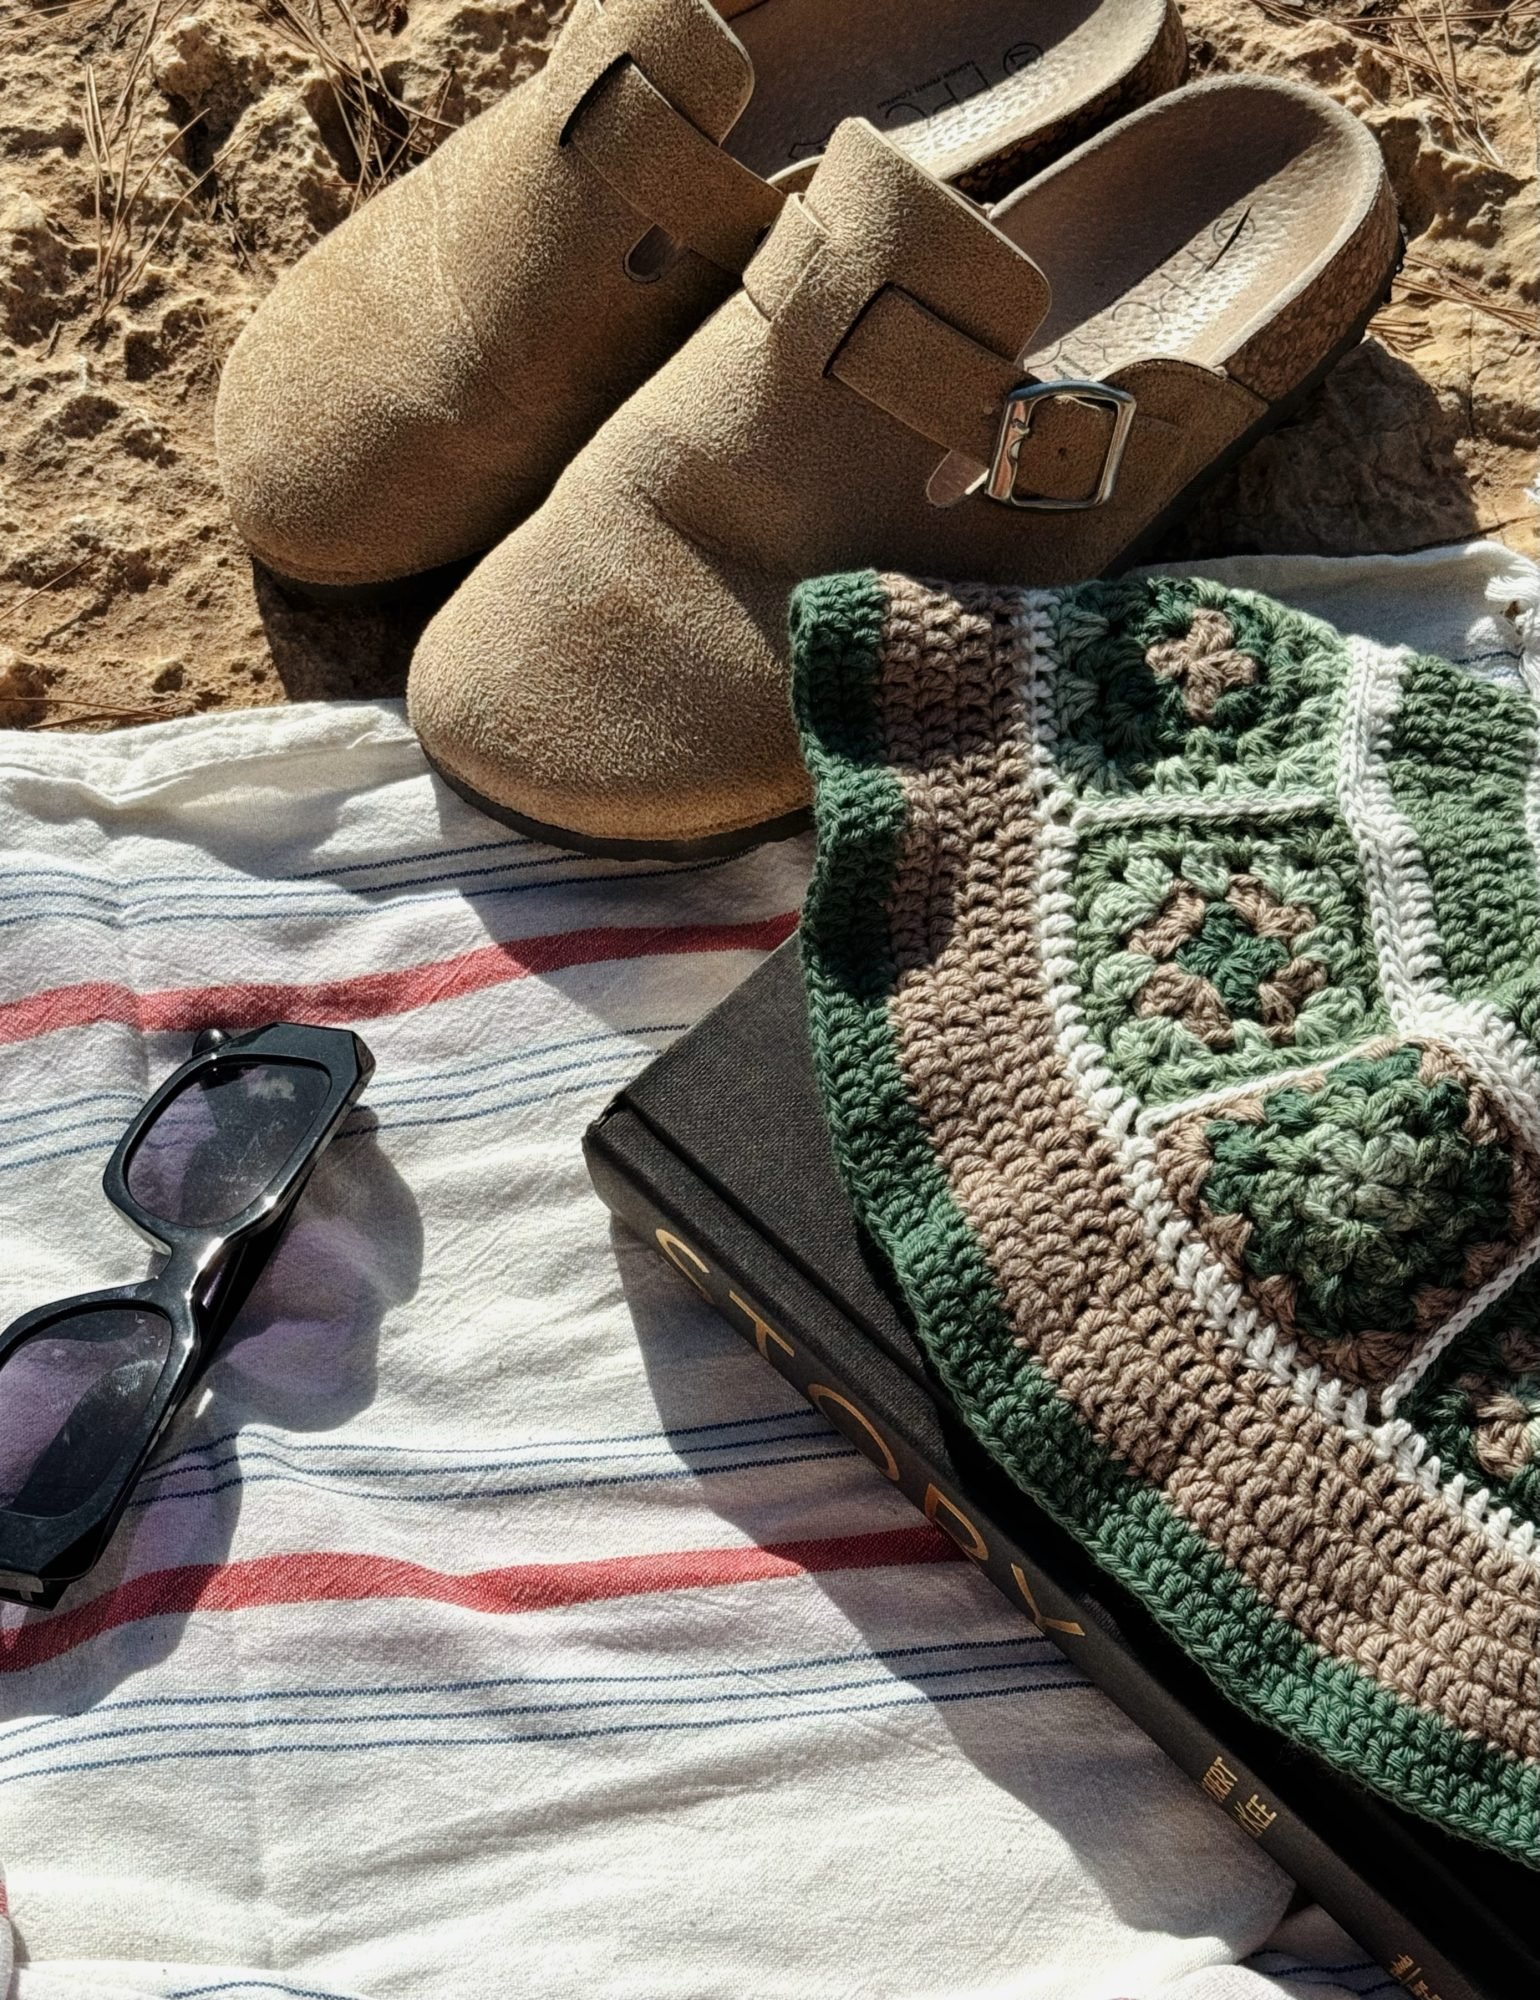
And a little spoiler alert, although it seems daunting at first, the DIY crochet bucket hat is not difficult at all!
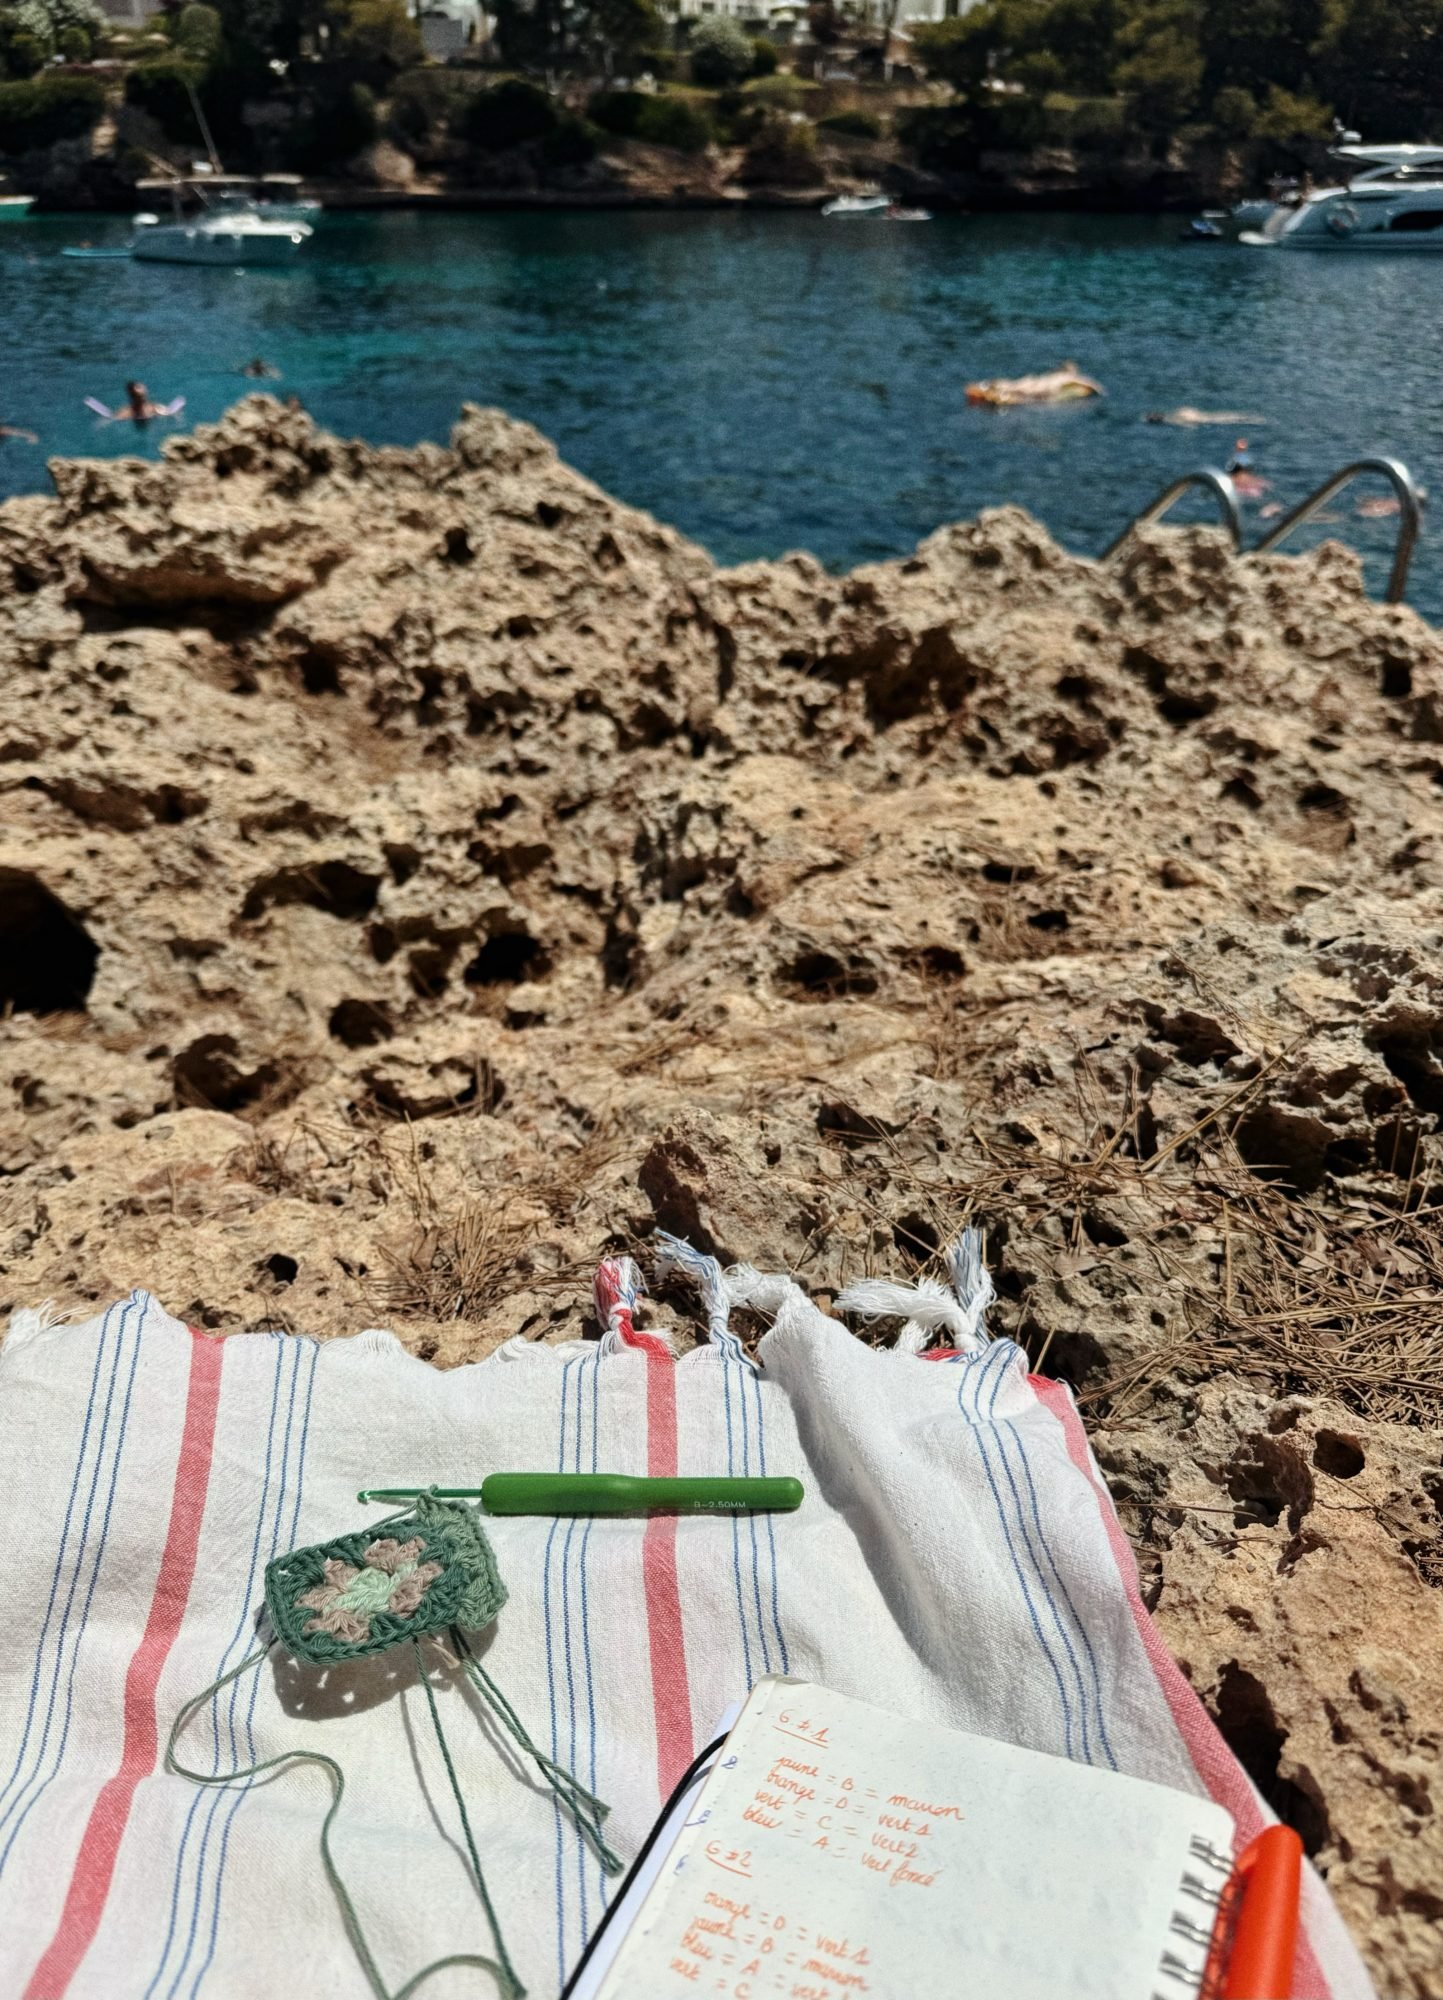
Step 1 / Inspiration and choosing the yarn
To embark on this new adventure, I needed to have some references. Having a very clear idea of the crochet bucket hat of my dreams, I did some research on Pinterest until I found the Holy Grail: aka a free PDF containing all the instructions to make the bucket hat (in French) + a video illustrating each step (in Spanish).
On the yarn and crochet front, I found my happiness at Sostrene Grene, as I often do for DIY projects. I decided not to stick to the colors suggested in the previous DIY. I thus had to determine which colors to replace those in the example work and assign the right letters to my skeins. In my case: A: dark green, B: brown, C: “medium” green, D: light green, E: white.
Step 2 / Get started
This DIY crochet bucket hat starts from the top with what will soon no longer be a mystery to you, a magic ring. Let me tell you that this element and the few rows that build around it had to be redone a good ten times on mine. And it’s a good thing in a way. Because these different attempts allowed me to better tame my crochet hook, to see how to tighten my stitches, how to properly insert between the stitches, etc. Thus, after a few practice moments, I felt more comfortable and managed to progress the work satisfactorily.
The first color and stitch type changes are much easier to make than it seems. You shouldn’t hesitate to go slowly to ensure your movements, and the next changes can be done with your eyes closed! This is also true for creating the granny squares, referring to the motifs that make up the bucket hat. The first one may bring a few cold sweats, but ultimately, the sequence of stitches is the same in each color; only the number of repetitions changes. Thus, once you master the gesture, it becomes a real child’s play.
And this applies to the entire DIY crochet bucket hat. Once you have grasped the different types of stitches/vocabulary (stitch, slip stitch, double crochet, increase, chain), these gestures will become automatic, and you just need to count your stitches correctly.
Step 3 / Crochet and disconnect
Once you’ve taken your first steps, making a crochet bucket hat becomes a pleasant and relaxing activity. The mind disconnects from everything else and focuses solely on counting stitches rather than your daily troubles!
In just a few hours, you will reach the last stitches of the border, and you will have made a trendy bucket hat with your own hands, and above all, made with love!!
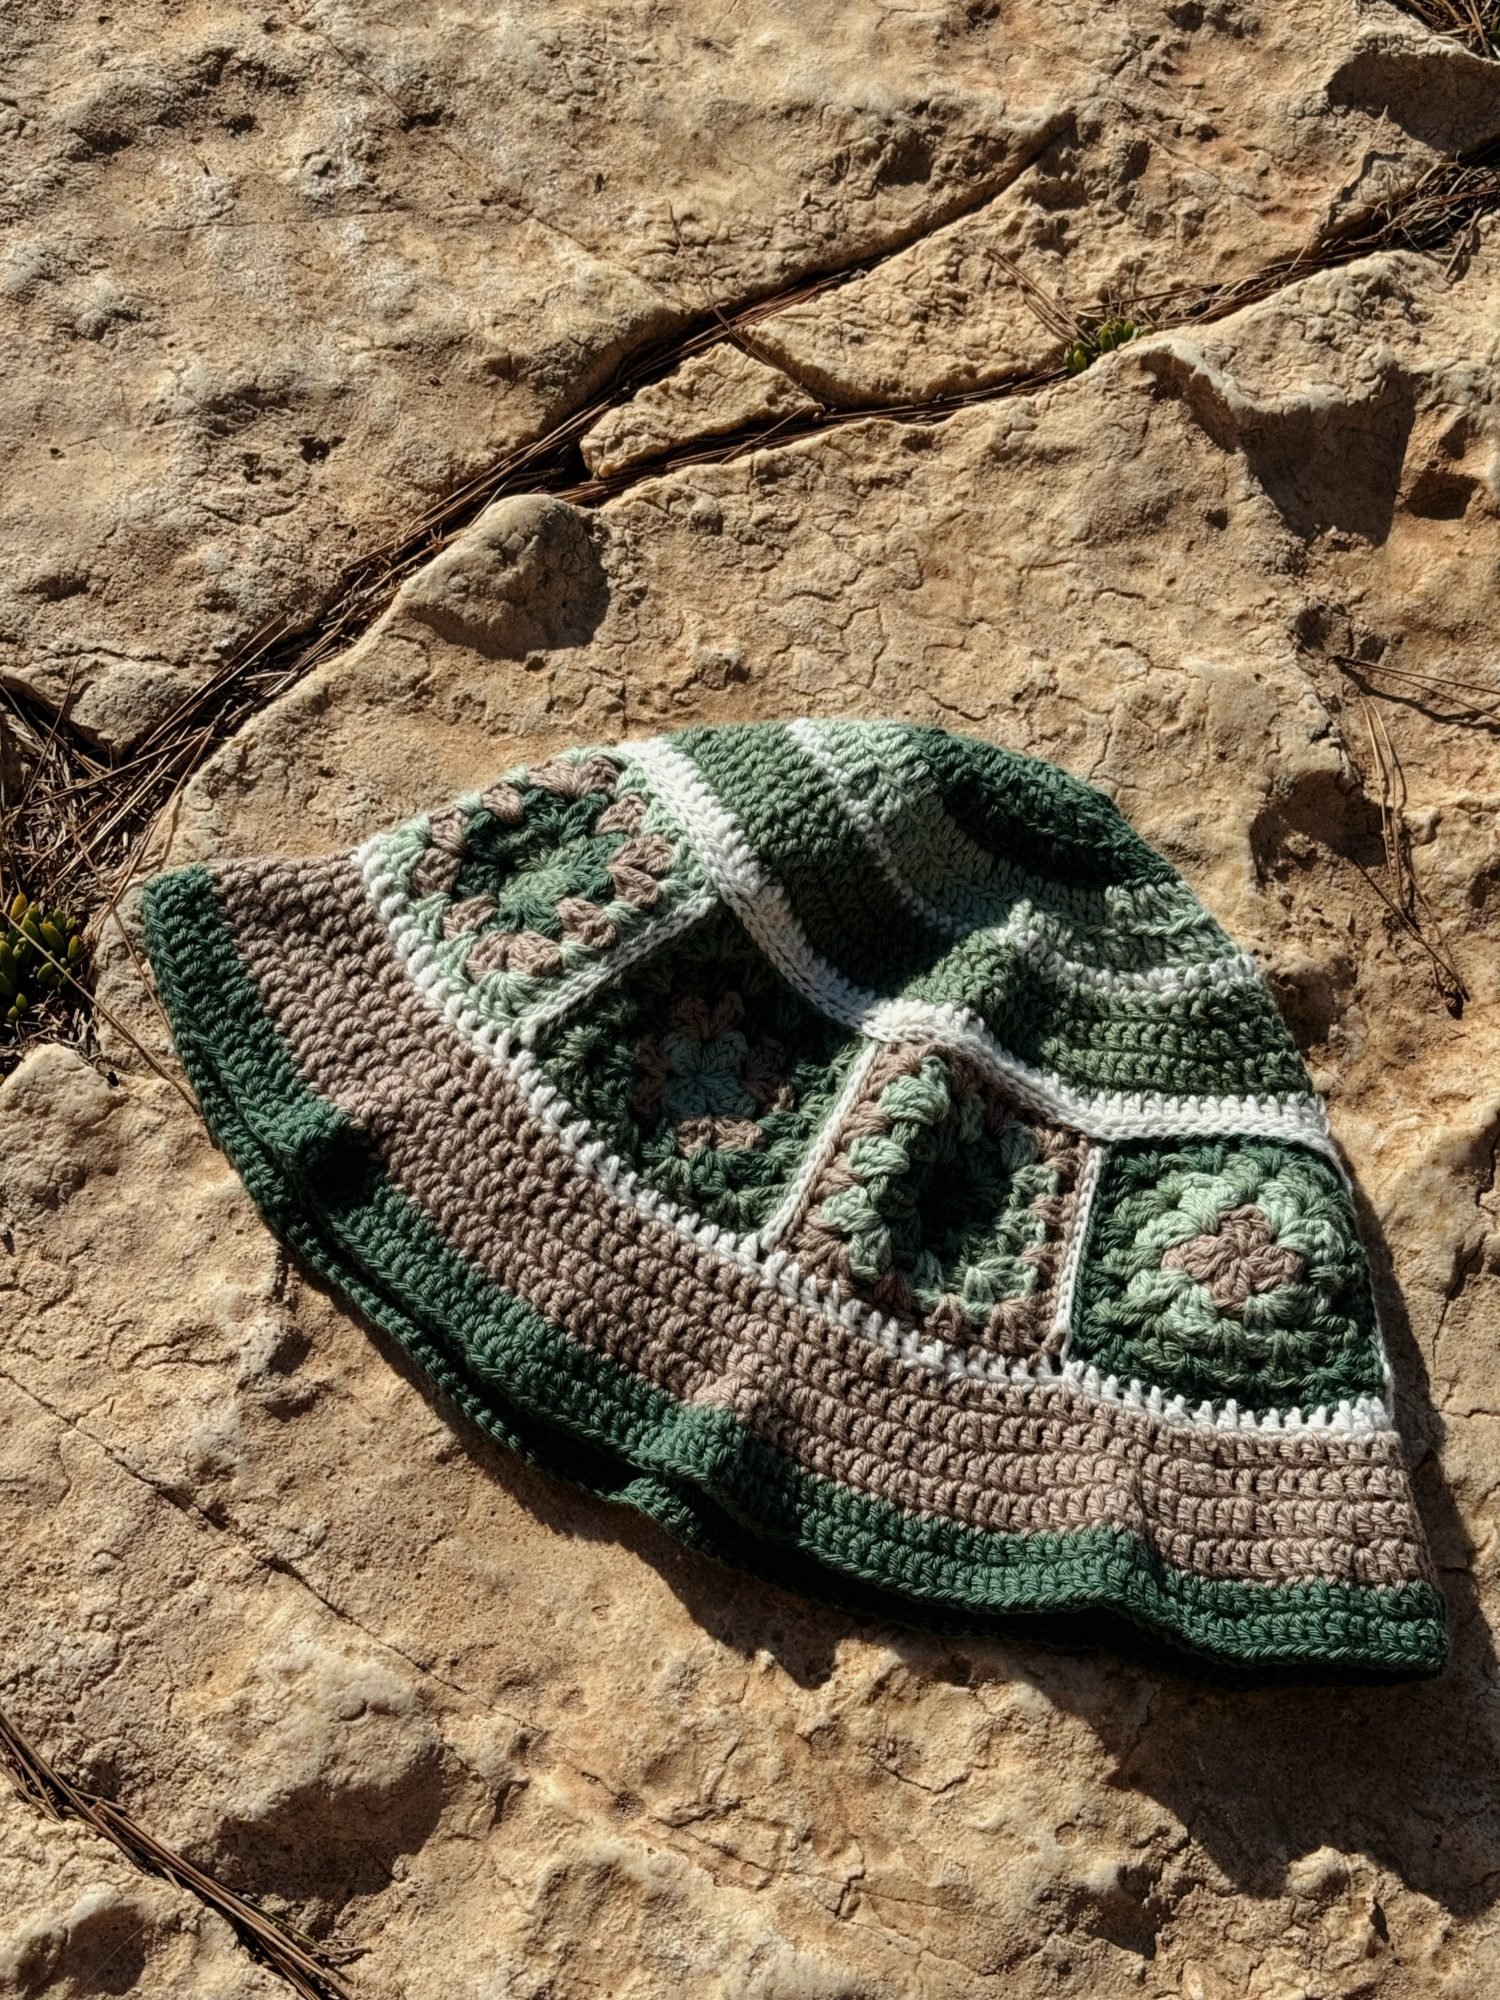

Don’t hesitate any longer; you have all of August to get started! For my part, whether by the pool, on the rocks of the turquoise coves, or in the car between the olive fields, nothing stopped me. A true passion for crochet has been born. I am now preparing to design a top or even a crocheted bedspread!
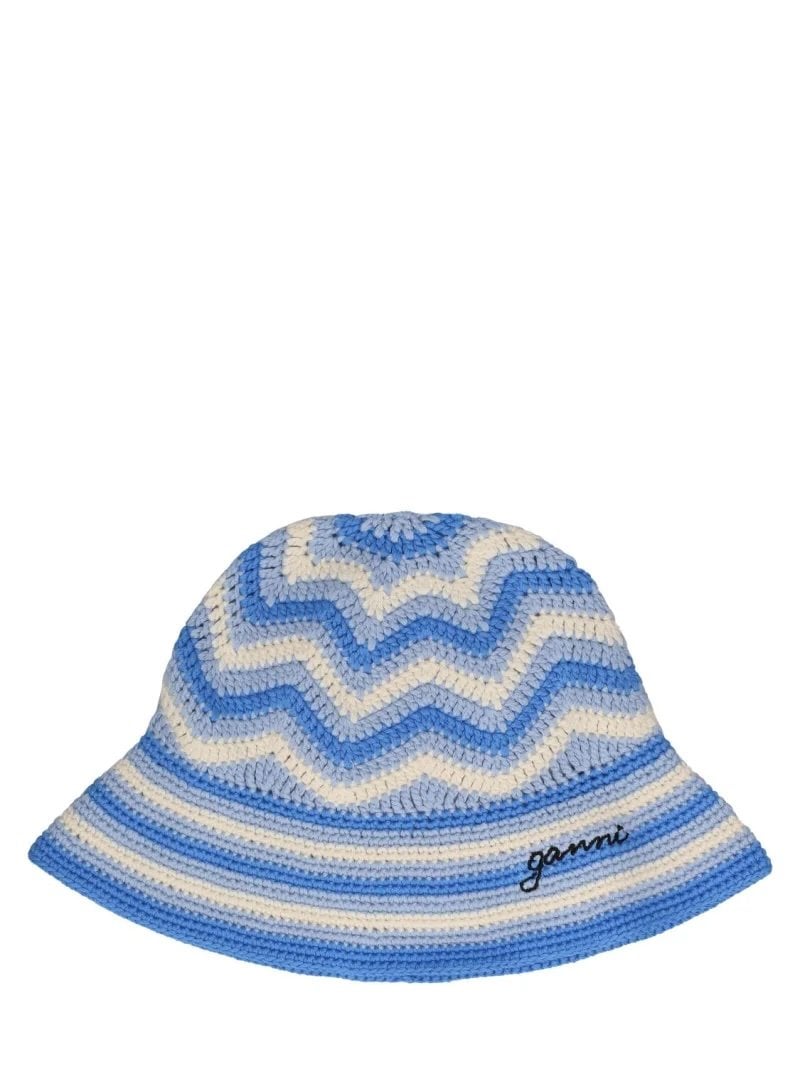
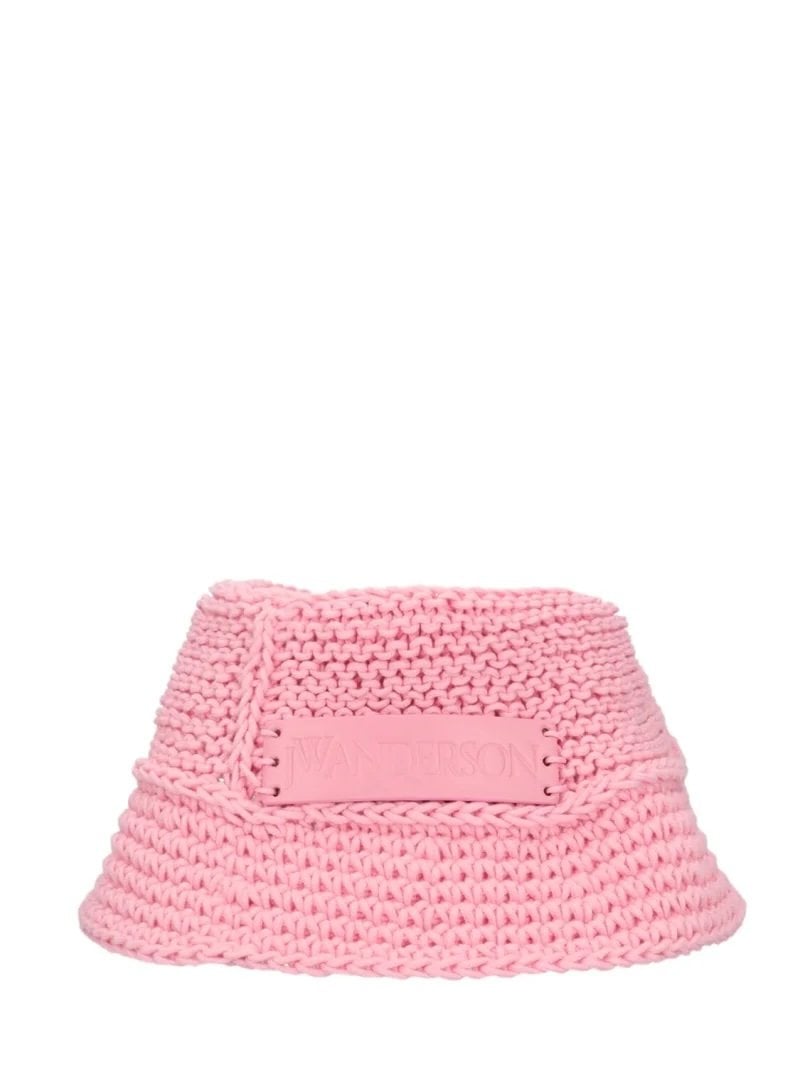
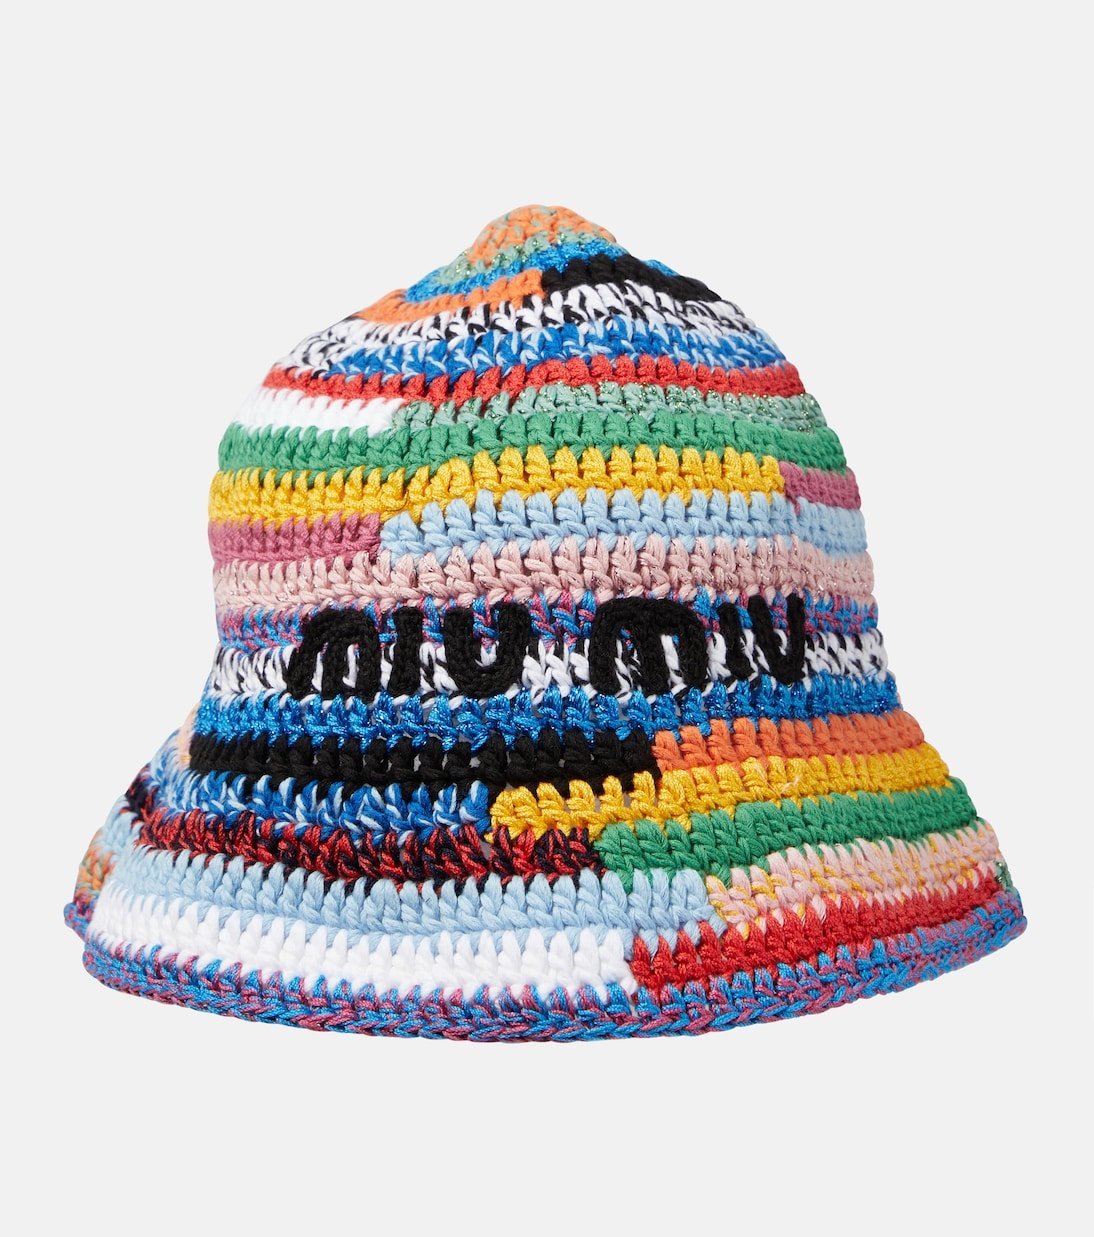
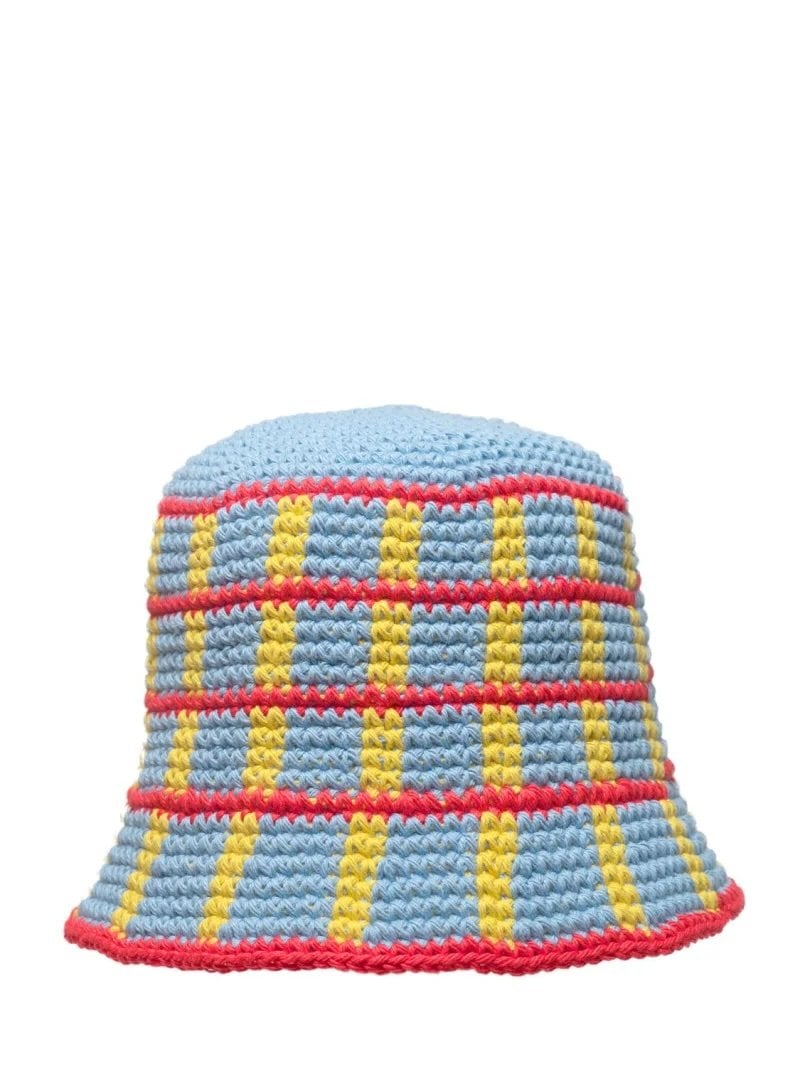
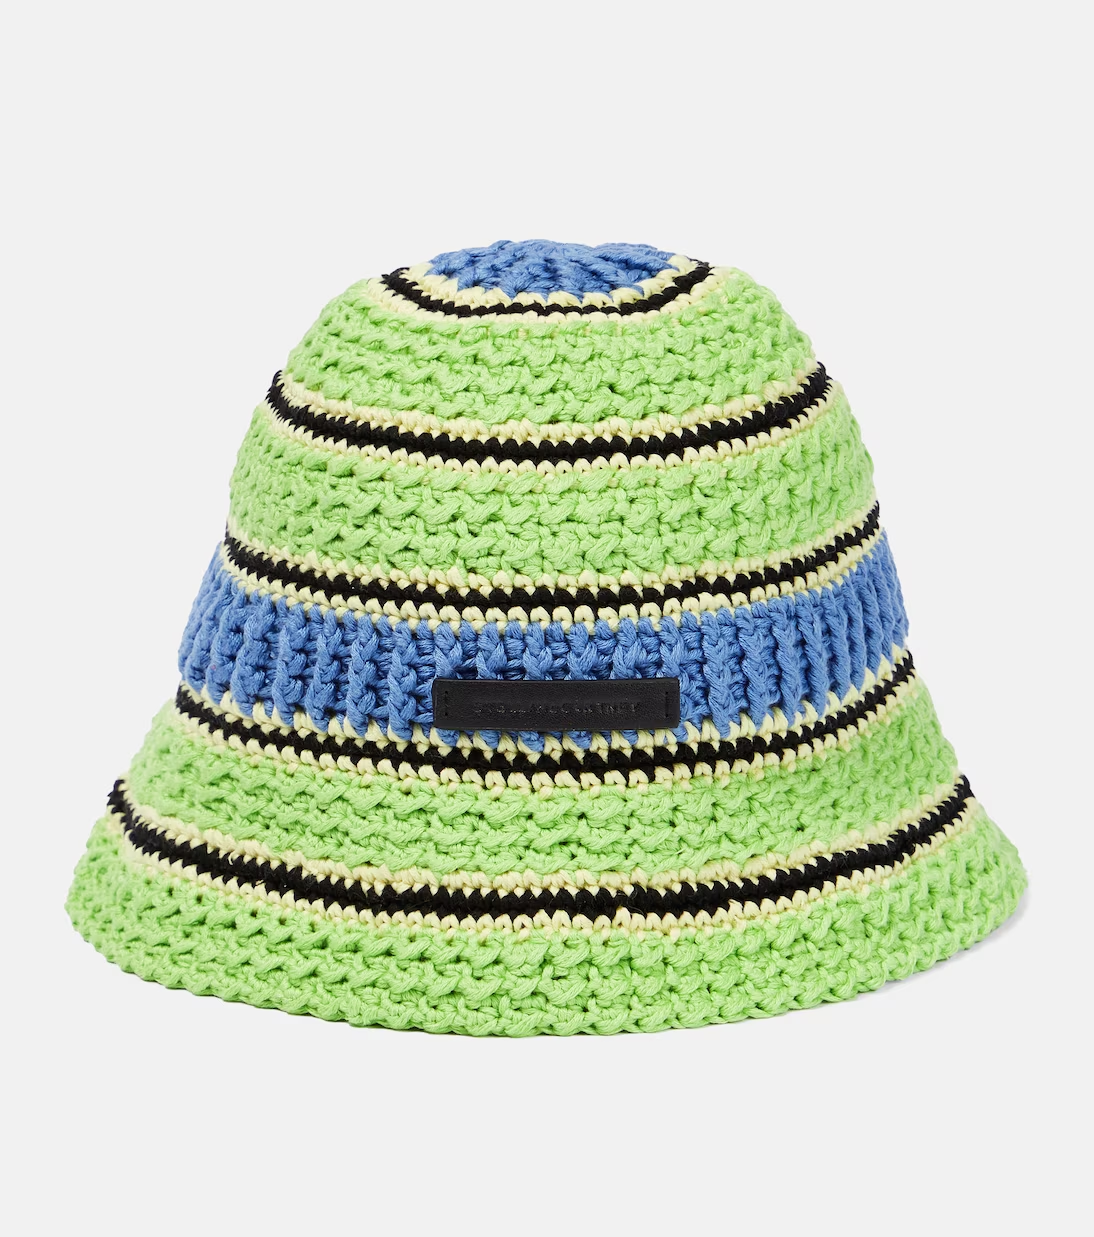
Our selection of pieces to adopt the crochet bucket hat
If you want to expand your collection or find some inspiration, here’s a selection of crochet bucket hats!
Photos: ©Pauline PINOT